

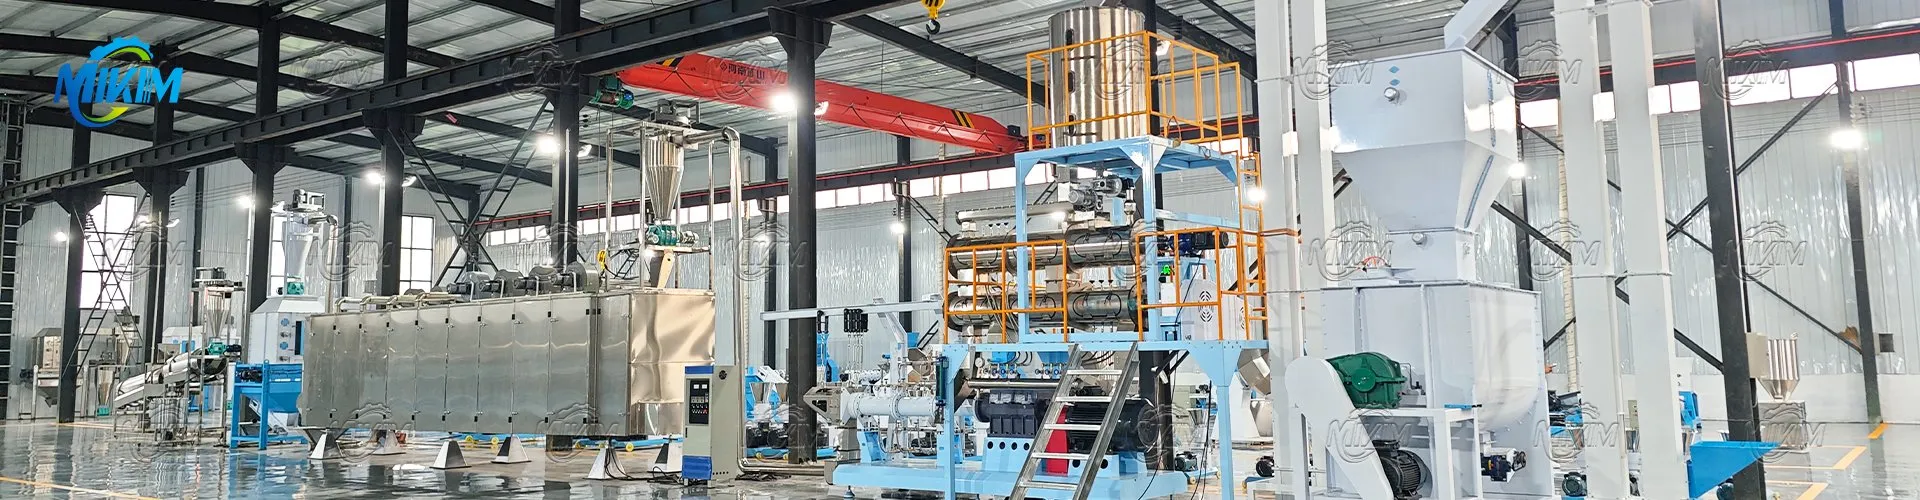
How To Change The Motor On A Dog Food Pellet Making Machine?
Leave a message
content
Preparation Before Replacement: Tools, Safety Precautions, and Pre-treatment of the Dog Food Pellet Machine
Adequate preparation before replacement is fundamental to ensuring a smooth and safe motor replacement. This requires attention to three main areas: tools, safety precautions, and equipment pre-treatment.
Tool Preparation: Prepare appropriate wrenches, screwdrivers, multimeters, terminal blocks, insulating tape, and lifting tools (for large motors). Ensure all tools are complete and in good working order to avoid downtime due to missing tools.
Safety Precautions: Operators must wear insulated gloves, protective masks, and non-slip shoes. Loose clothing and jewelry are strictly prohibited to prevent electric shock or clothing getting caught in the equipment.
Equipment Pre-treatment: First, turn off the main power to the dog food pellet extruder machine and unplug the power cord. Hang a warning sign that reads "Motor Replacement in Progress, Do Not Start." Wait for the extruder to cool completely (below 50°C). Clean the area around the extruder motor of any dust and material residue. Disassemble the connection between the motor and the drive shaft, disconnect the motor wiring, and ensure the equipment is in a safe state with no electricity, no material, and no high temperature.
Step-by-step replacement procedure: Disassemble the old motor → Install the new motor, ensuring precise connection
Following the principle of "disassemble before installing, ensuring precise connection," the operation is carried out step by step to avoid misalignment. Each step must be linked to the dog food pellet maker machine's logic. Step 1: Disassemble the old motor: Use a wrench to loosen the old motor's fixing bolts, gently pry the motor to separate it from the extruder base, and use a lifting tool (large motor) to slowly lift the old motor away, avoiding collisions with the extruder's linkage shaft, barrel, and other components; disconnect the motor from the reducer, clean dust and oil from the connection point, and check the linkage shaft for wear or deformation; if any abnormalities are found, repair them first. Step 2: Install the new motor: Precisely place the new motor on the extruder base, aligning it with the fixing bolt holes, and use a wrench to evenly tighten the fixing bolts (the tightening force must meet the standard, avoiding being too loose or too tight); connect the new motor's output shaft to the dog food pellet... The mill linkage shaft and reducer are precisely connected; tighten the connecting bolts to ensure a secure connection, smooth operation, and no loosening or jamming. The third step is wiring: following the wiring method of the old motor, use a screwdriver to connect the motor terminals. When wiring, distinguish between the live wire, neutral wire, and ground wire, ensuring the connections are secure and well-insulated. Wrap the terminals with insulating tape to prevent short circuits and electric shock. After wiring, use a multimeter to check the correctness of the wiring to ensure there are no errors.
Post-replacement debugging: Safety tests to ensure normal operation of the extruder
Step 1: Idle test: Close the feed inlet of the Automatic Dog Food machine, connect the power supply, start the motor, and let the motor idle for 5-10 minutes. Observe the motor's operating status to confirm there are no abnormal noises, vibrations, or overheating, the speed is normal, and the linkage shaft rotates smoothly without jamming.
Step 2: Linkage test: Start the extruder and perform idle linkage operation. Observe the linkage status between the motor, the extruder screw, and the reducer to confirm smooth linkage, no abnormal noise, and normal extruder barrel pressure and temperature.
Step 3: Trial production test: Input a small amount of raw materials for trial production to test the pellet forming quality and raw material cooking effect. Confirm that the motor power and speed are compatible with the automatic fish feed making machine, and that there are no problems such as material blockage or motor overheating. After debugging, normal production can be resumed. Simultaneously, record the motor replacement time and model for future maintenance.
Our equipment


Why choose us?
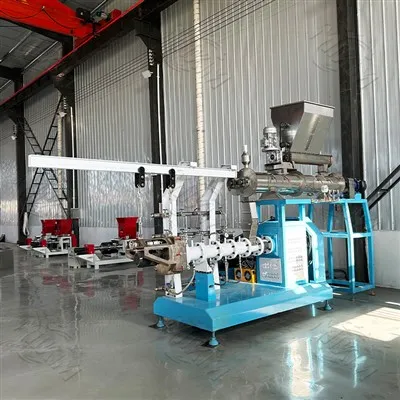
The MIKIM's floating fish feed extruder machine is constructed entirely of food-grade 304 stainless steel, fully complying with food processing hygiene standards. It is corrosion-resistant, easy to clean, and eliminates potential contamination at the source. The core screw is made of high-quality alloy steel through special heat treatment, offering outstanding wear resistance and corrosion resistance. Combined with its integrated structural design, this significantly extends its service life. The entire machine has passed CE and ISO international authoritative certifications, aligning with global quality standards and ensuring safer and more reliable processing.
Our Services
We offer:
One-Year Whole Machine Warranty Service
On-site Installation, Commissioning, and Technical Guidance
24/7 Online Technical Support
Qualifications and Honors

Customer visit

FAQ
1. What is the price of the fish feed production machine?
The price ranges from approximately $1,500-$50,000
2. How do you deliver to customers?
MIKIM Machinery's machinery delivery follows a complete process of "customized preparation - safe and fast delivery - precise handover - after-sales extension", with 3-day fast delivery, multi-layer protective packaging, global logistics tracking and 1-year warranty + on-site technical service to ensure that the equipment is delivered efficiently and in good condition and put into use smoothly.


